Integrating ChatGPT in Laravel for Smart Tag Generation & SEO Boost

featured_img1738157939.webp

Integrating ChatGPT in Laravel for Smart Tag Generation & SEO Boost

Table of Contents

    Incorporating AI tools into your web applications can revolutionize user engagement and simplify processes. ChatGPT, developed by OpenAI, is a powerful AI chatbot that can understand and generate human-like responses, making it an excellent tool for various applications like customer support, content generation, and interactive tutorials.

    What is ChatGPT?

    ChatGPT is a smart AI tool made by OpenAI that can generate text like a human. It can answer questions, write code, create content, fix errors, and much more. Think of it as a helpful virtual assistant for learning, tasks, or even fun!. The ChatGPT API provides access to OpenAI’s conversational AI models like GPT-3, GPT-4, GPT-4 turbo, GPT-4o etc

    Why Use ChatGPT in Your Laravel Project?

    Adding ChatGPT to your Laravel app brings several benefits:

    • Better User Experience: Gives instant and smart replies, making users happy.
    • Automation: Handles tasks like FAQs, product suggestions, and guides.
    • Versatility: Can help write, debug, or teach users in real-time.
    • Scalability: Grows with your app, thanks to its easy-to-use API.

    Where Can You Use ChatGPT in Laravel?

    • Chat Widget: For live chats with users.
    • Customer Support: To answer common questions automatically.
    • Product Suggestions: Recommend items based on what users need.
    • FAQ Page: Quickly answer user queries.
    • Onboarding and Tutorials: Help users learn or set up your app easily.

    Follow these simple steps, and you’ll quickly learn how to integrate ChatGPT into your Laravel application to generate smart SEO-friendly tags automatically. This guide covers setup, implementation, and best practices to enhance your website’s search visibility and user engagement.

    Step 1: Sign Up for the OpenAI API

    1. Open your browser and go to the official OpenAI website: OpenAI Platform.

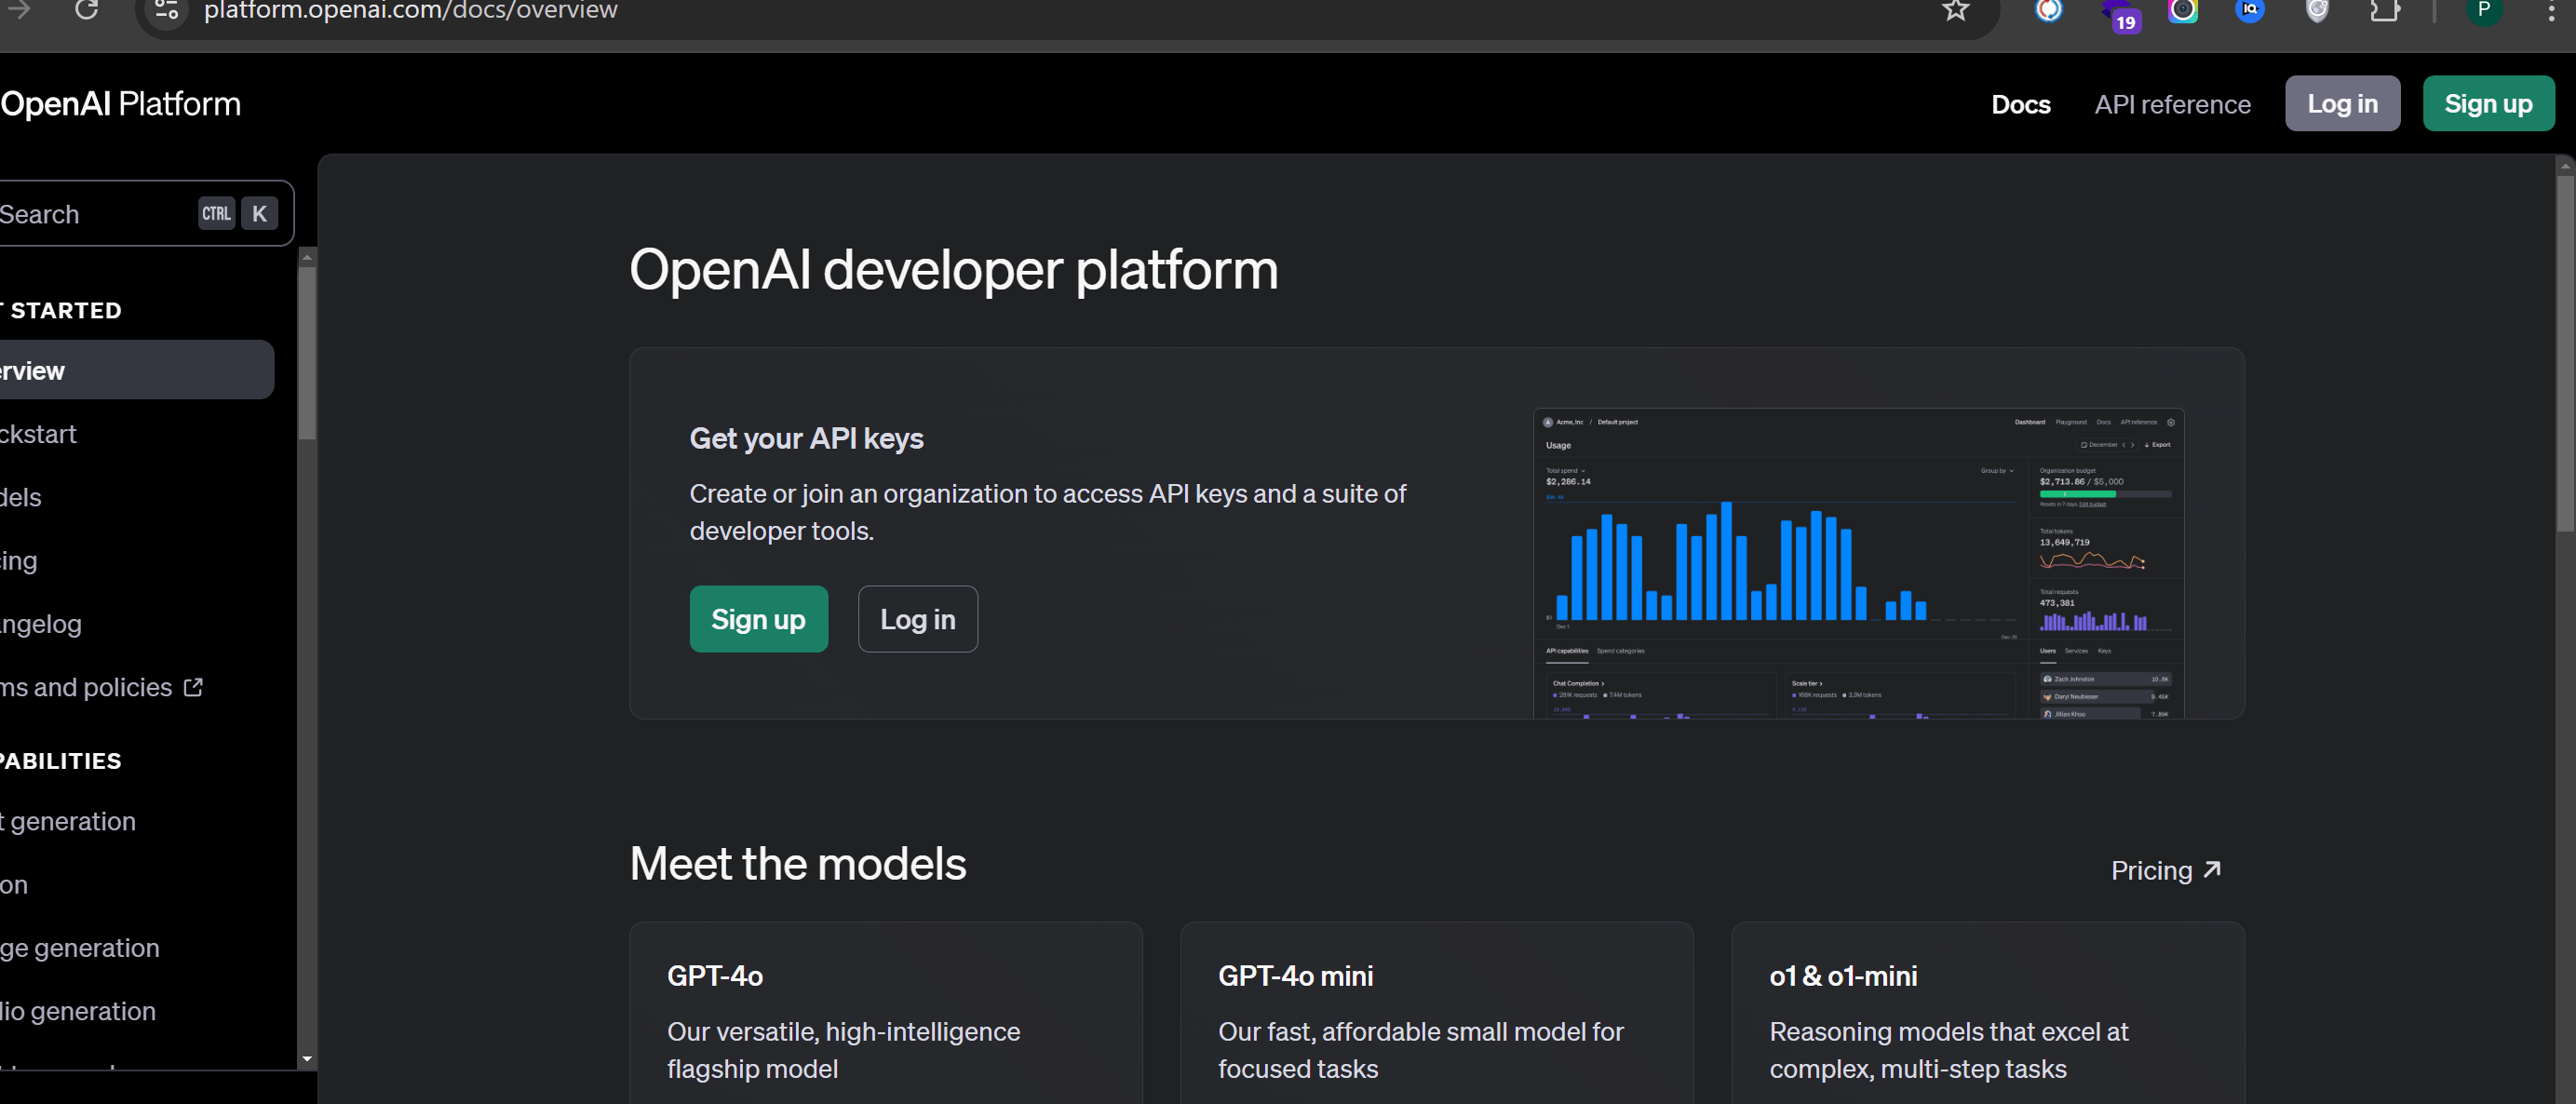
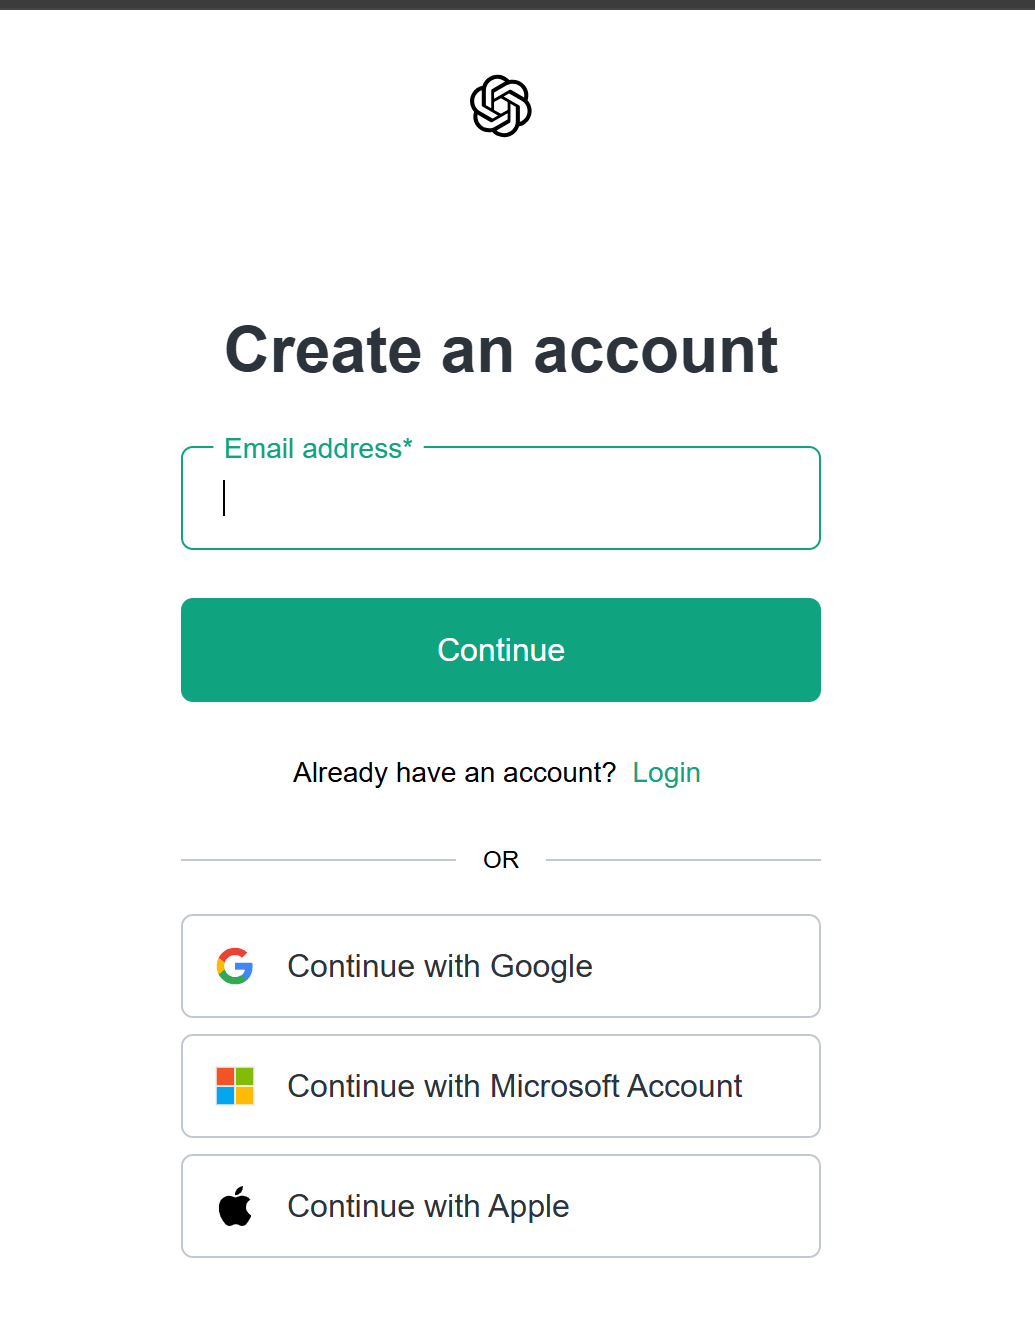
    2. Click on the "Sign Up" button located in the top-right corner of the page

    3. Choose your preferred sign-up method

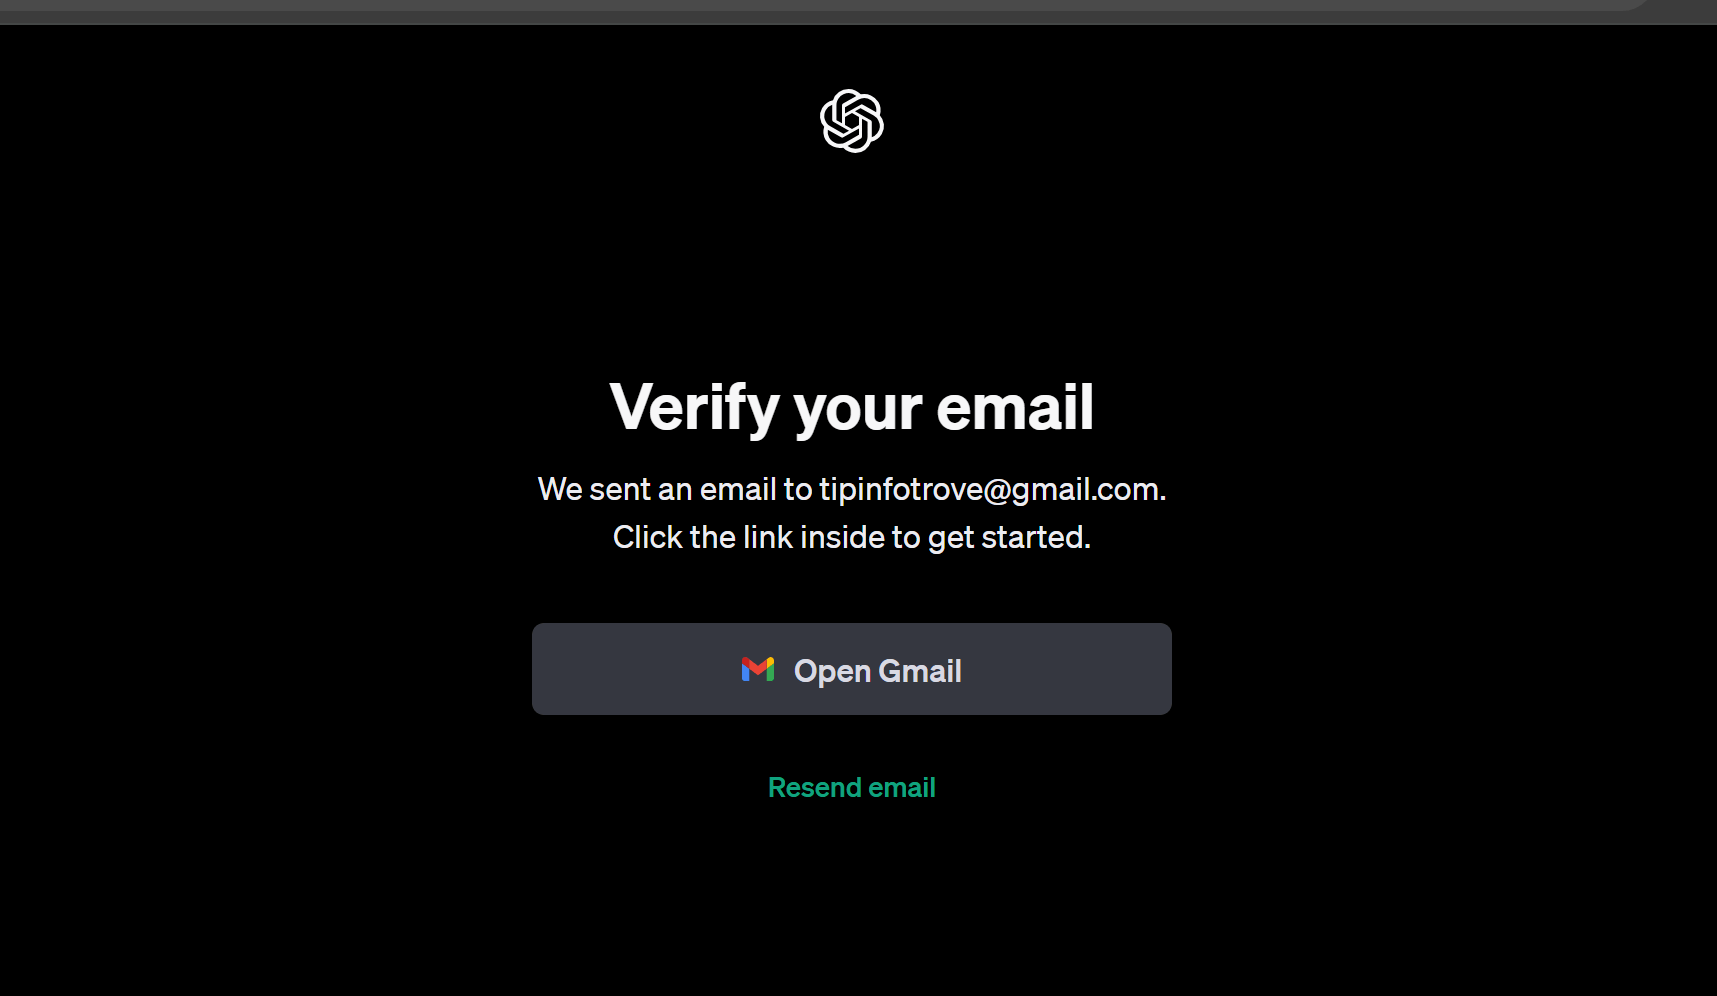
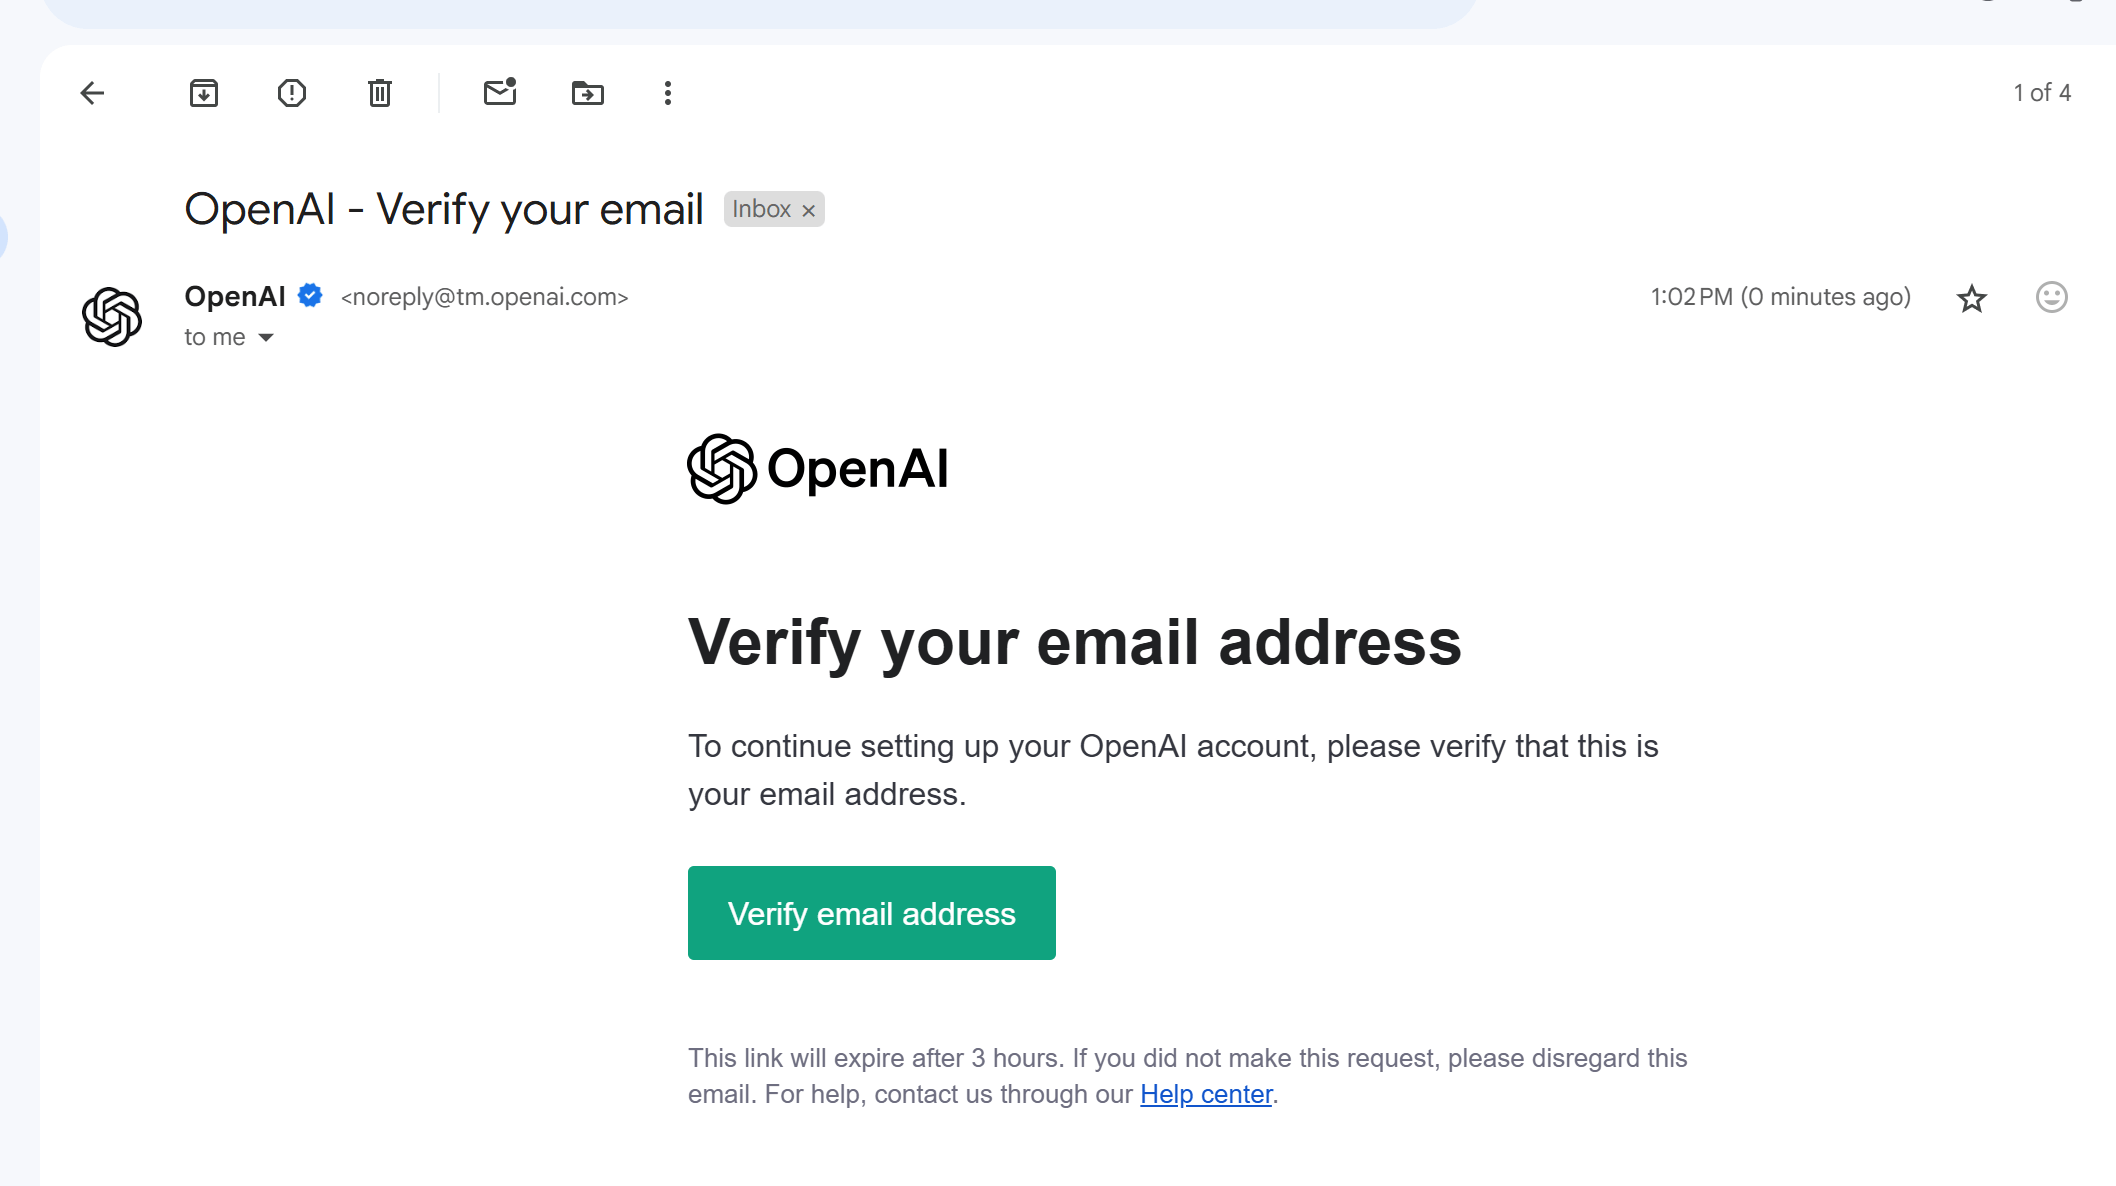
    4. Follow the verification process, such as confirming your email or logging in with your linked account.

    5. Once your account is created, log in to the OpenAI platform.

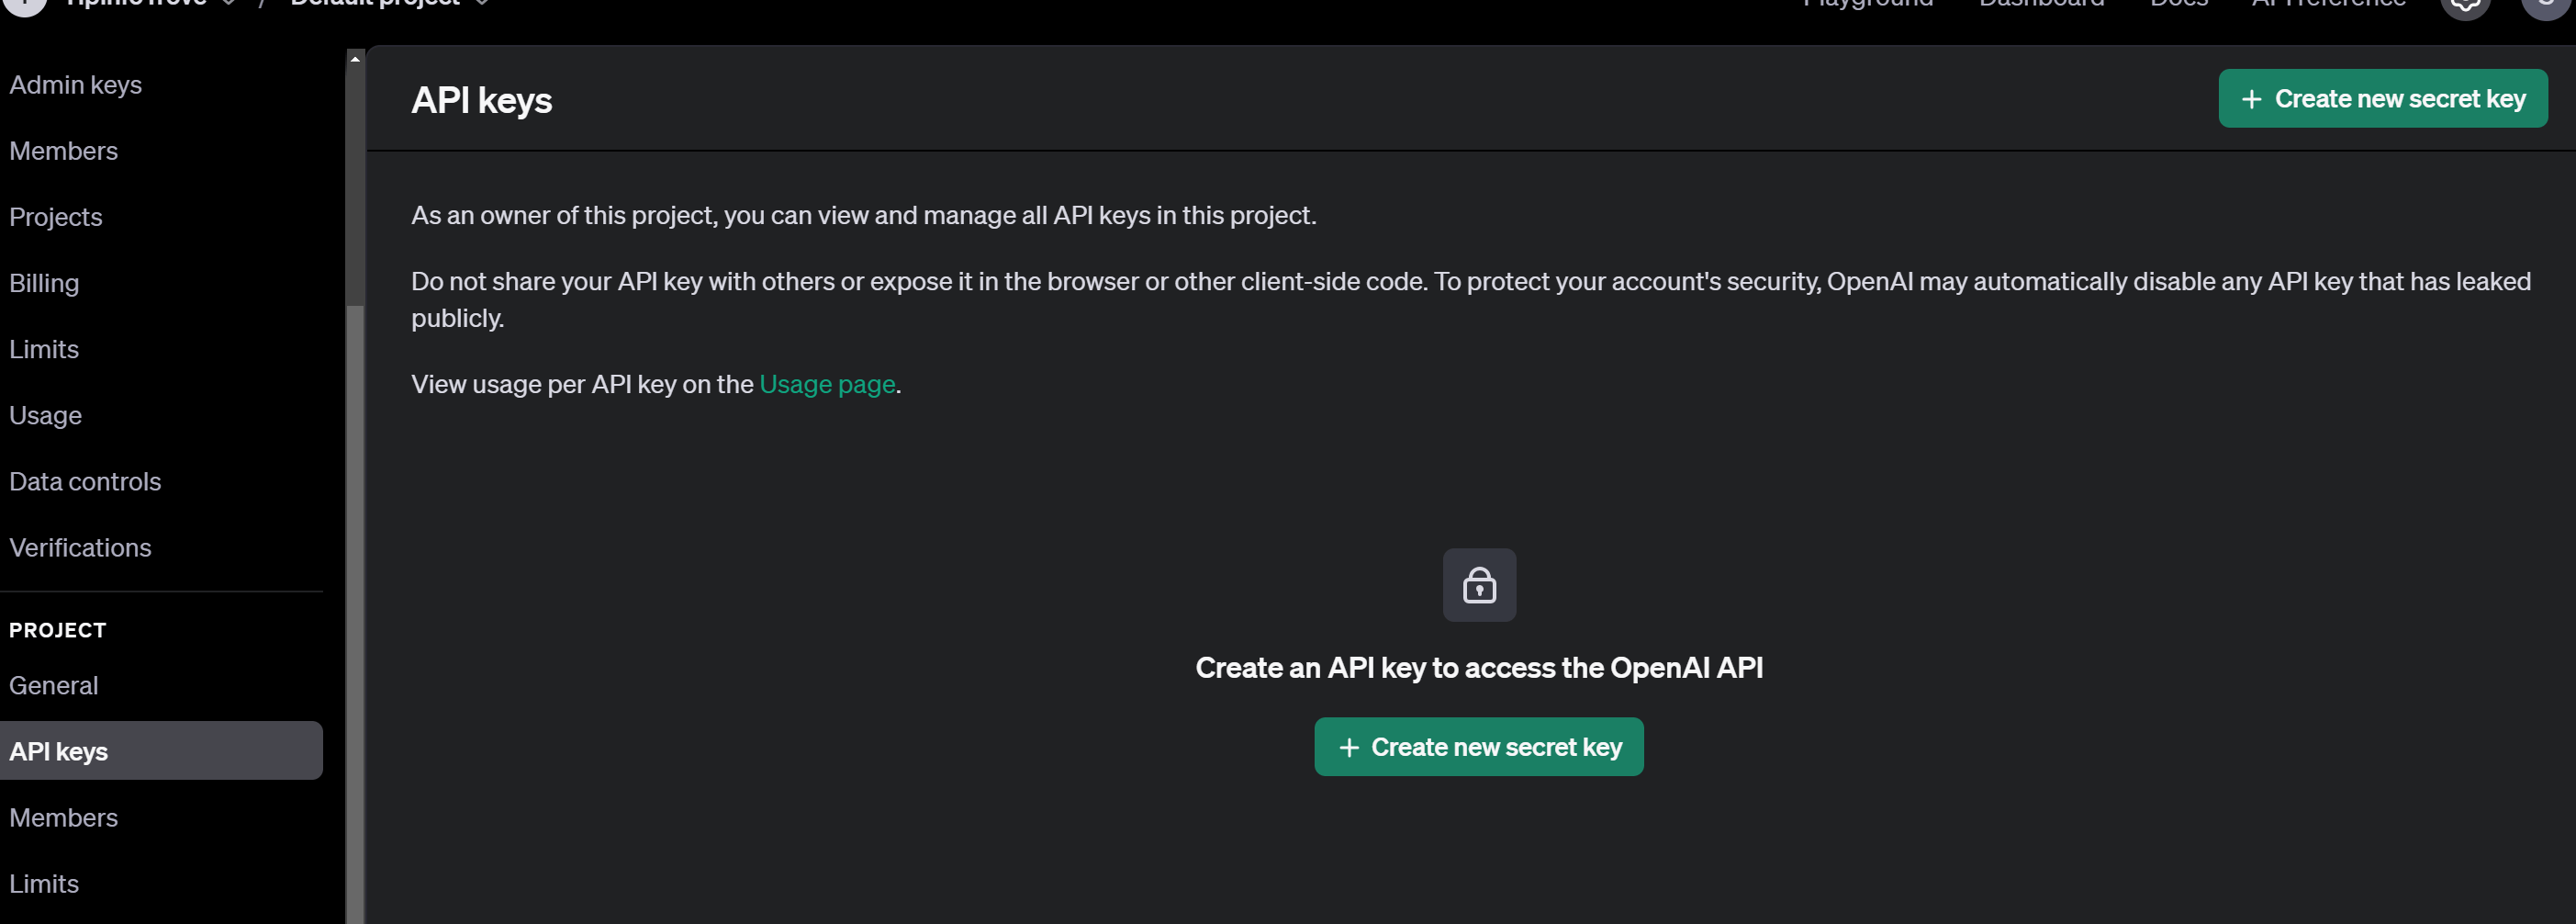
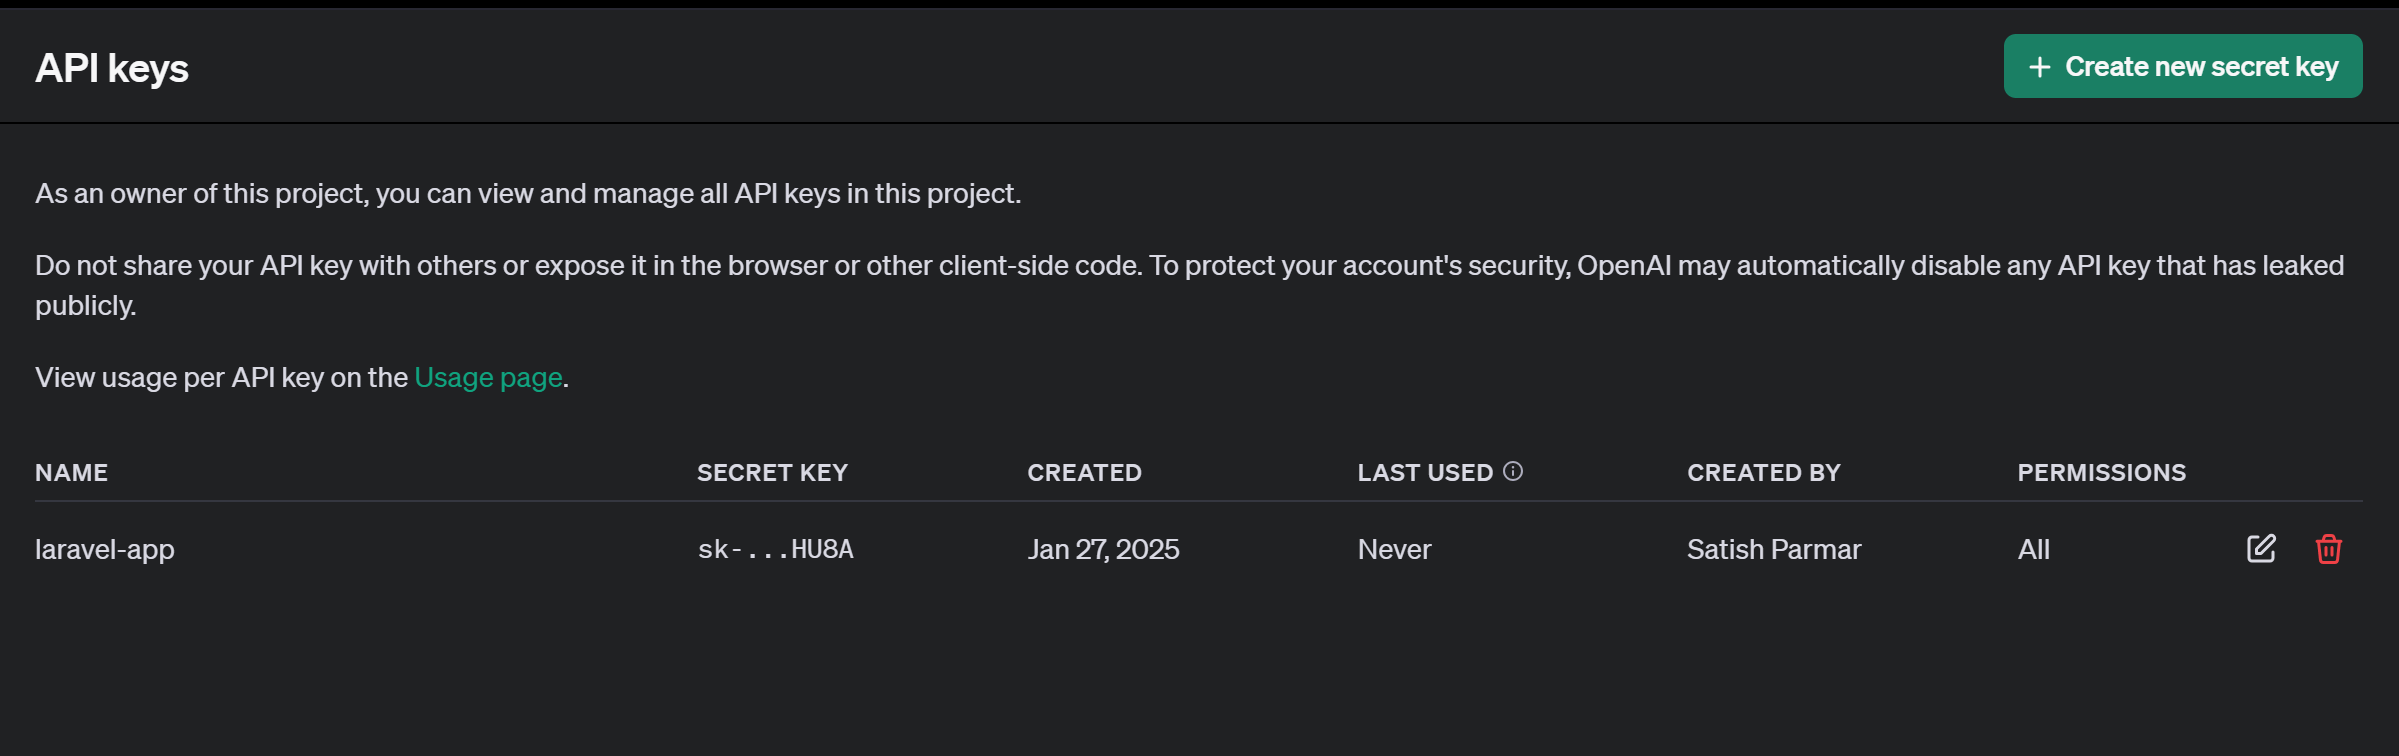
    6. In the dashboard, navigate to the "API Keys" section by clicking on your profile icon in the top-right corner and selecting "API Keys" from the dropdown menu.

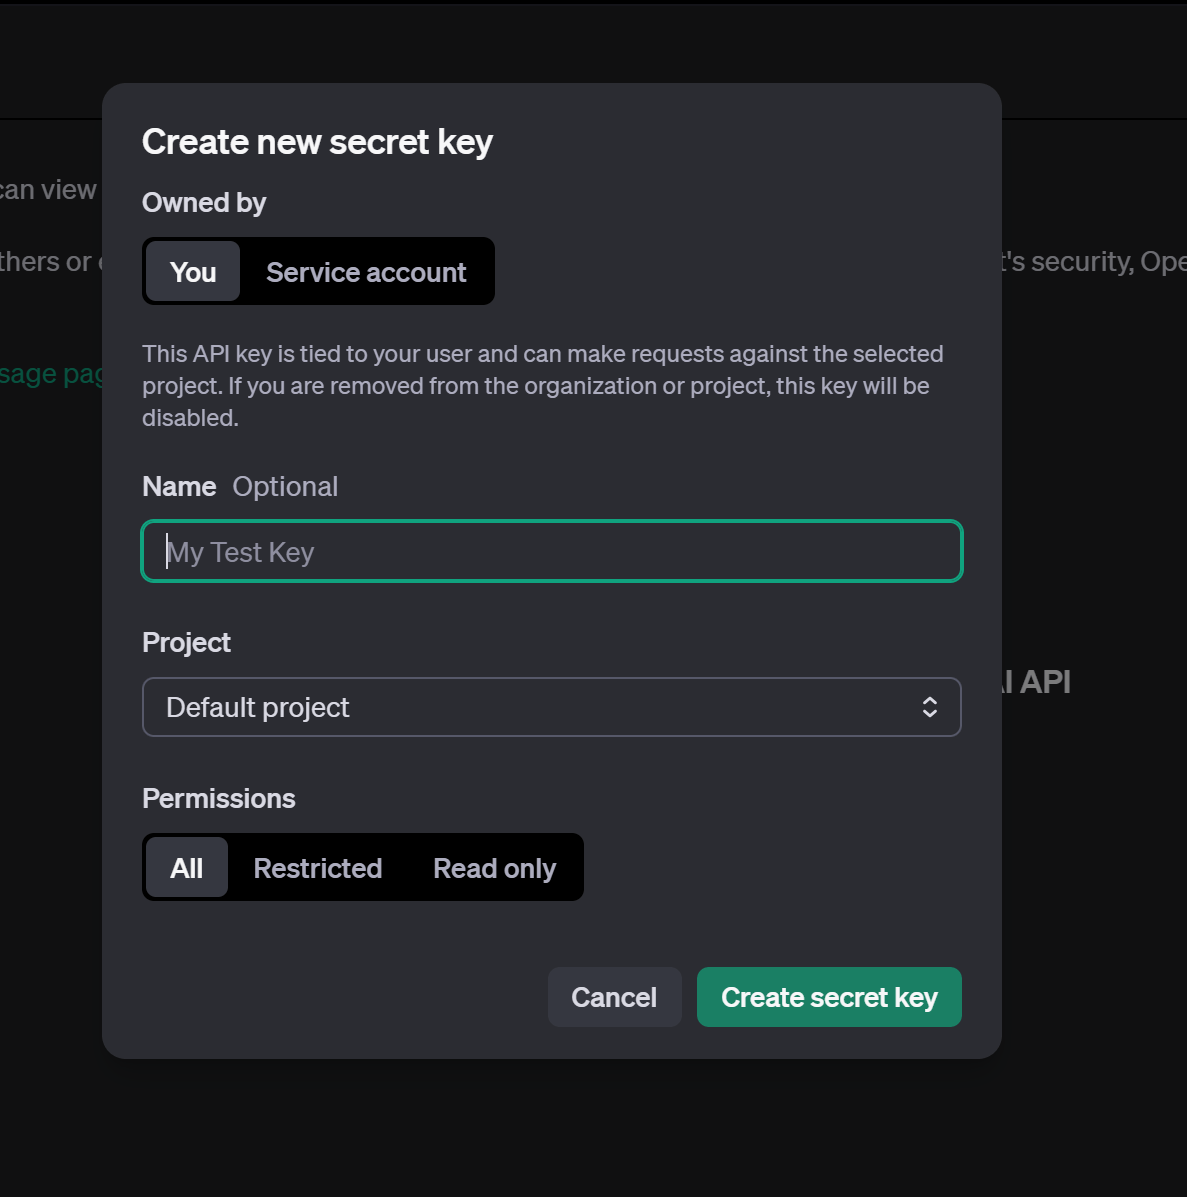
    7. Click the "Create New Key" button to generate an API key.

    8. Copy the generated key. This key is important, as it allows your application to connect with OpenAI's API.

    Step 2: Setting Up the Laravel Project

    If you don’t already have a Laravel project, create one with Composer:

                                        
                                            composer create-project laravel/laravel  chat-gpt-app


    Navigate to the app directory by running the following command in your terminal

                                        
                                            cd chat-gpt-app


    Step 3: Configure Your Environment

    Add your OpenAI API key to the .env file:

                                        
                                            OPENAI_API_KEY=your-api-key-here


    Run the following command to clear and refresh your configuration cache:

                                        
                                            php artisan config:clear && php artisan config:cache


    Step 4: Install the OpenAI PHP Package

    Install the openai-php/laravel package using Composer:

                                        
                                            composer require openai-php/laravel


                                            php artisan vendor:publish --provider="OpenAI\Laravel\ServiceProvider"


    This command publishes the package configuration file to config/openai.php.

    Step 5: Create a Controller

    Generate a controller to handle ChatGPT interactions:

                                        
                                            php artisan make:controller TagGeneratorController


    Inside the controller, you can use the OpenAI package to process user queries and fetch responses from ChatGPT.

    Edit the controller file to include the logic for tag generation:

                                        
                                            namespace App\Http\Controllers;
                                            
                                            use Illuminate\Http\Request;
                                            use OpenAI\Laravel\Facades\OpenAI;
                                            
                                            class TagGeneratorController extends Controller
                                            {
                                            
                                                public function index(Request $request)
                                                {
                                                    return view('tags-generator');
                                                }
                                            
                                                public function generateTags(Request $request)
                                                {
                                                    $request->validate([
                                                        'title' => 'required|string|max:255',
                                                    ]);
                                            
                                                    $title = $request->input('title');
                                            
                                                    try {
                                                        // Call OpenAI API to generate tags
                                                        $response = OpenAI::chat()->create([
                                                            'model' => 'gpt-4', // or 'gpt-3.5-turbo'
                                                            'messages' => [
                                                                ['role' => 'system', 'content' => 'You are an assistant that generates relevant SEO-friendly tags for blog titles.'],
                                                                ['role' => 'user', 'content' => "Generate 5 SEO-friendly tags for the title: '$title'"],
                                                            ],
                                                        ]);
                                            
                                                        $tags = $response['choices'][0]['message']['content'];
                                            
                                                        return response()->json([
                                                            'success' => true,
                                                            'tags' => $tags,
                                                        ]);
                                                    } catch (\Exception $e) {
                                                        return response()->json([
                                                            'success' => false,
                                                            'error' => $e->getMessage(),
                                                        ]);
                                                    }
                                                }
                                            }                                        


    Step 6: Create a Blade View

    Create a view file at resources/views/tags-generator.blade.php:

                                        
                                            php artisan make:view tags-generator


    Customize the view to include an input box for user queries and a section to display responses.


                                         <!doctype html>
                                         <html lang="en">
                                         <head>
                                                 <meta charset="UTF-8">
                                                 <meta name="viewport" content="width=device-width, initial-scale=1.0"/>
                                                 <title>Integrating ChatGPT in Laravel for Smart Tag Generation & SEO Boost</title>
                                                 <link href="https://cdn.jsdelivr.net/npm/bootstrap@5.3.0-alpha1/dist/css/bootstrap.min.css" rel="stylesheet">
                                         </head>
                                         <body>
                                         
                                                <div class="container mt-5">
                                                 <h1 class="text-center">>Generating Tags Using ChatGPT in Laravel for SEO Optimization</h1>
                                                 <form id="tagsForm">
                                                     <div class="mb-3">
                                                         <label for="title" class="form-label">Blog Title</label>
                                                         <input type="text" class="form-control" id="title" name="title" required>
                                                     </div>
                                                     <button type="submit" class="btn btn-primary">Generate Tags</button>
                                                 </form>
                                                 <div class="mt-4" id="tagsOutput"></div>
                                                 </div>
                                         
                                                 <script src="https://code.jquery.com/jquery-3.6.0.min.js"></script>
                                                 <script>
                                         
                                                     $(document).ready(function () {
                                                         $('#tagsForm').submit(function (e) {
                                                             e.preventDefault();
                                 
                                                             let title = $('#title').val();
                                                             let tagsOutput = $('#tagsOutput');
                                 
                                                             $.ajax({
                                                                 url: "{{ route('generate.tags') }}",
                                                                 type: 'POST',
                                                                 data: {
                                                                     title: title,
                                                                     _token: '{{ csrf_token() }}' // Include CSRF token for security
                                                                 },
                                                                 beforeSend: function () {
                                                                     tagsOutput.html('<div class="alert alert-info">Generating tags...</div>');
                                                                 },
                                                                 success: function (response) {
                                                                     if (response.success) {
                                                                         tagsOutput.html(`<h3>Generated Tags:</h3><p>${response.tags.replace(/\n/g, '<br>')}</p>`);
                                                                     } else {
                                                                         tagsOutput.html(`<div class="alert alert-danger">Error: ${response.error}</div>`);
                                                                     }
                                                                 },
                                                                 error: function (xhr) {
                                                                     tagsOutput.html(`<div class="alert alert-danger">Error: ${xhr.responseJSON?.message || 'An error occurred'}</div>`);
                                                                 }
                                                             });
                                                         });
                                                     });
                                                 
                                                     </script>
                                         </body>
                                         </html>                                       


    Step 7: Setting Up Routes And Run Project

    1. Add Route

      Define the route in routes/web.php

                                                  
                                                      use App\Http\Controllers\TagGeneratorController;
      
                                                      Route::get('/generate-tags', [TagGeneratorController::class, 'index'])->name('generate.tags');
                                                      Route::post('/generate-tags', [TagGeneratorController::class, 'generateTags'])->name('generate.tags');                              
                                                  
                                              
    2. Run the Project

      Start the development server:

                                                  
                                                      php artisan serve                                         
                                                  
                                              
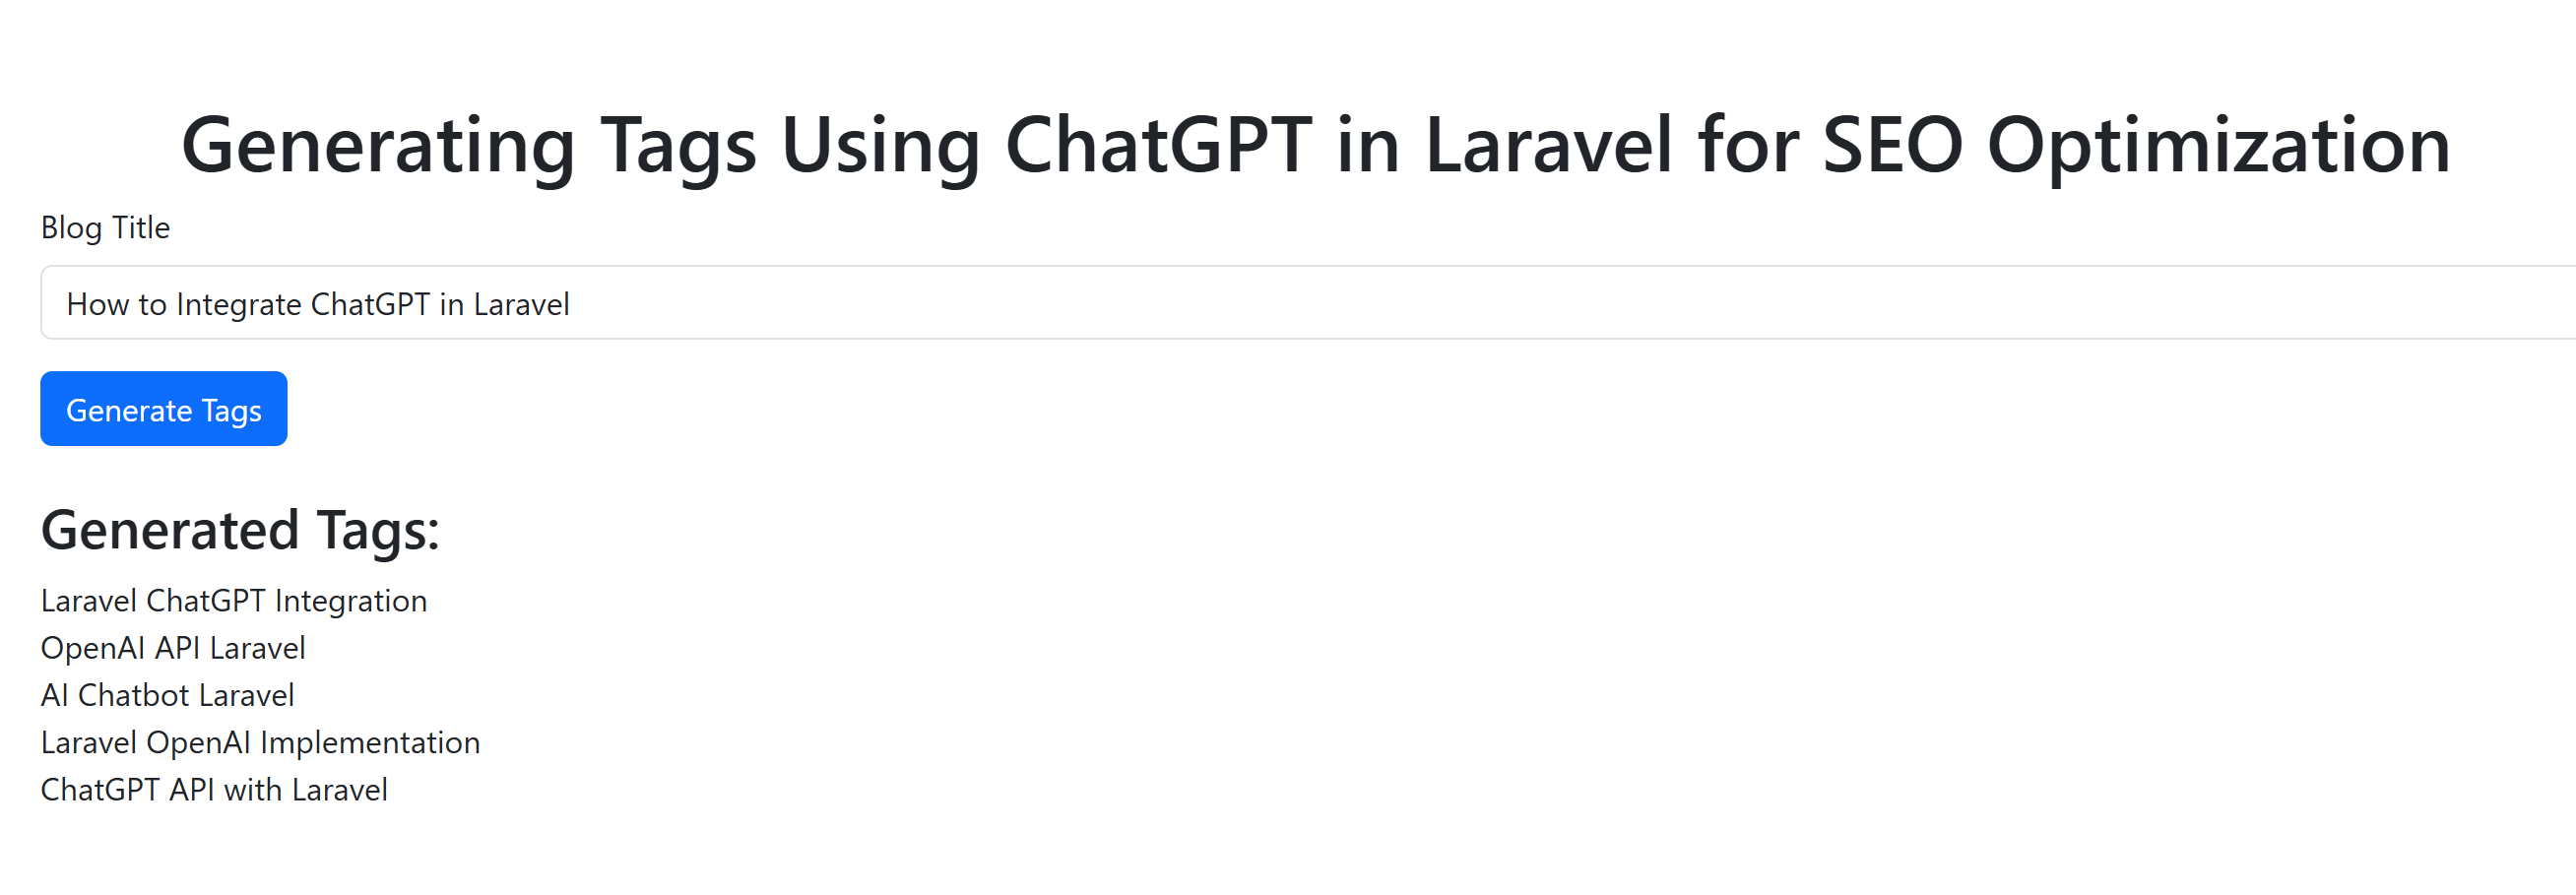
    3. Preview the Application

      Open your web browser and navigate to the following URL to view the code preview:

      Preview:

    Conclusion

    Integrating ChatGPT with Laravel for tag generation can significantly improve your website’s SEO and automation capabilities. By leveraging AI-driven suggestions, you can enhance content discoverability, streamline workflows, and boost user experience effortlessly.

    Did this solution work for you? Drop a like or comment below!

    Satish Parmar

    Satish Parmar

    Experienced Full-Stack Web Developer

    I'm a passionate full-stack developer and blogger from India, dedicated to sharing web development tips and solutions. As the creator of TipInfoTrove.com, my goal is to help developers and tech enthusiasts solve real-world challenges with expertise in PHP, Laravel, JavaScript, Vue, React, and more. Through detailed guides and practical insights, I strive to empower others to excel in their projects and stay ahead in the ever-evolving world of technology.

    0 Comments

    Post Comment

    Your email address will not be published. Required fields are marked *